
Install JavaFX in Eclipse
Tutorial to configure the JavaFX platform in the Eclipse IDE
If there's one thing I always forget how to do, it's setting up JavaFX in Eclipse every time I format my computer. This simple practice isn't always easy to find a well-explained and coherent tutorial, so I decided to post this small tutorial.
Install plugin
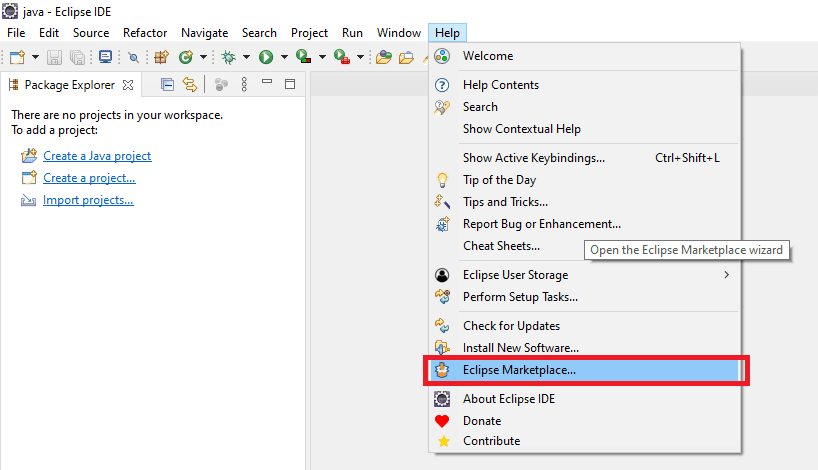
The first step is to install the JavaFX plugin. To do this, access the IDE menu and select the option Help > Eclipse Marketplace...
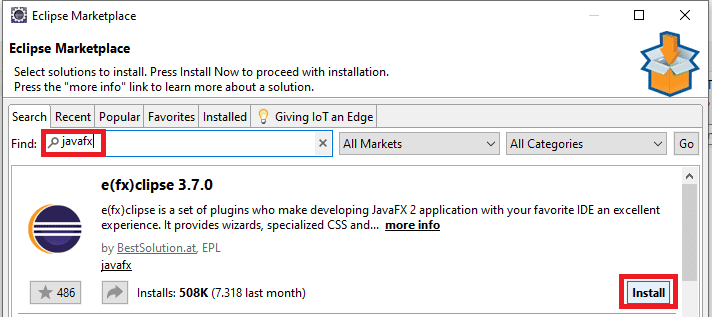
In the Marketplace window, search for javafx, the first one that appears is e(fx)clipse x.x.x, the latest version at the time of this article is version 3.7.0, but it doesn't have to be that one.
After that, click Install to get the plugin.
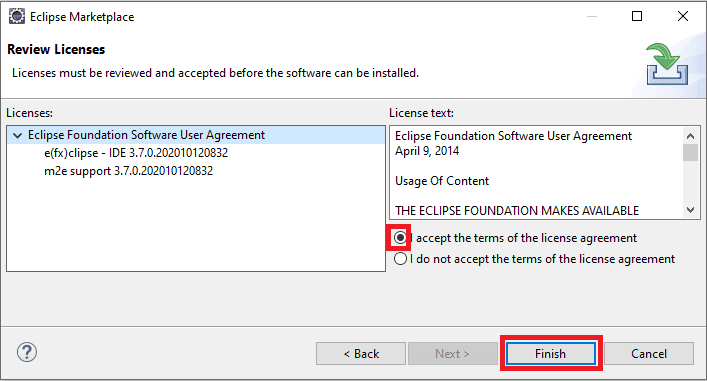
After clicking install, the license agreement is requested, accept as in the image and then click Finish.
The eclipse will download the plugin online, after that, it is requested that the IDE be restarted, an alert is displayed informing. Click Restart Now to do this.
Installation of JavaFX SDK
To install the development kit, SDK, access JavaFX Gluon.
In the Long Term Support section, download according to your operating system.
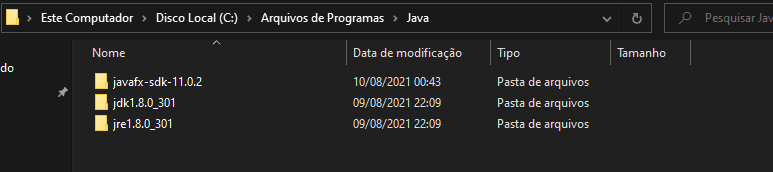
After downloading, extract the file and move it to the directory you want, I recommend placing it in the Java root directory, the directory in which the JRE and JDK are installed.
Mine is as shown in the image below:
Installation of Scene Builder
Scene Builder is a software that aims to facilitate the GUI, graphical user interface, for JavaFX projects, the interface is built simply by dragging and positioning components on the window, generating an FXML file.
Access Scene Builder - Gluon, go to the Download Scene Builder section, choose the platform of your operating system and download.
Install Scene Builder on your computer and copy the path of the Scene Builder executable.
Configure SDK and Scene Builder in the IDE
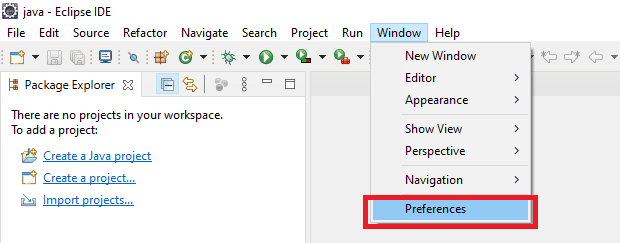
Go to the Eclipse IDE menu and select the option Window > Preferences
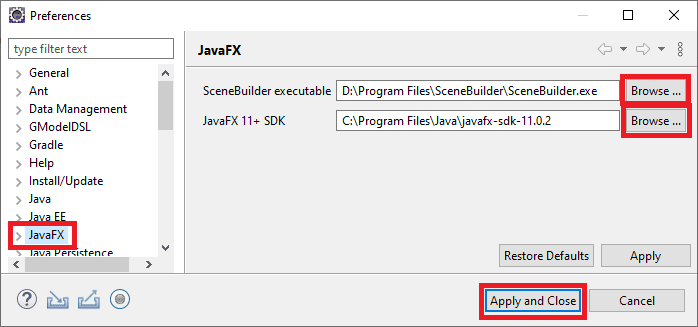
When the Preferences window opens, on the left you will have a tree with several options, select JavaFX, two fields will be displayed, one to declare the path of the SceneBuilder executable and another field to declare the path of the JavaFX SDK. Fill in and then click Apply and Close.
By completing these steps, the IDE is already ready to receive and create new JavaFX projects. But it should be noted that this type of project requires the JDK Java for development.
Configure JDK in Eclipse
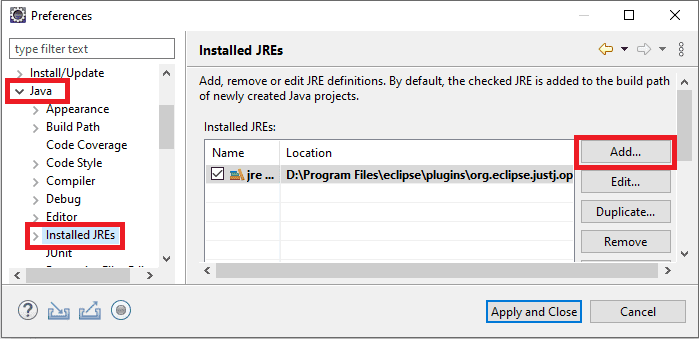
To do this, simply follow a similar step to the previous one, accessing Window > Preferences, in the tree expand the Java option, then click on the Installed JREs option, click the Add... button to add a new one.
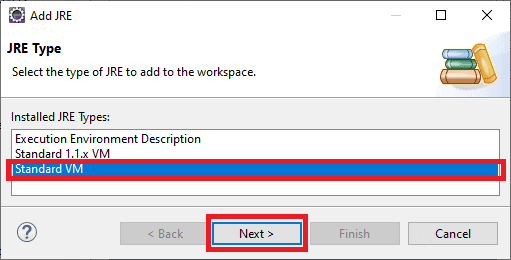
After that, a new window will request the type, select Standard VM, then click Next >.
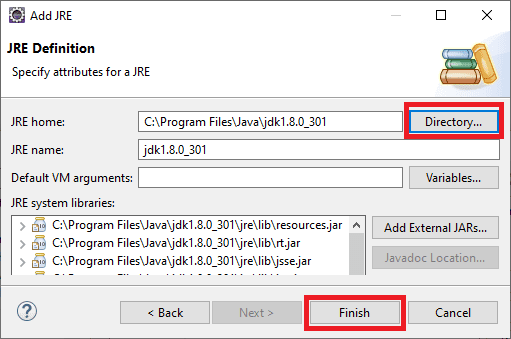
In the Definition area, go to the JRE home field and add the directory where the JDK is installed, then click Finish
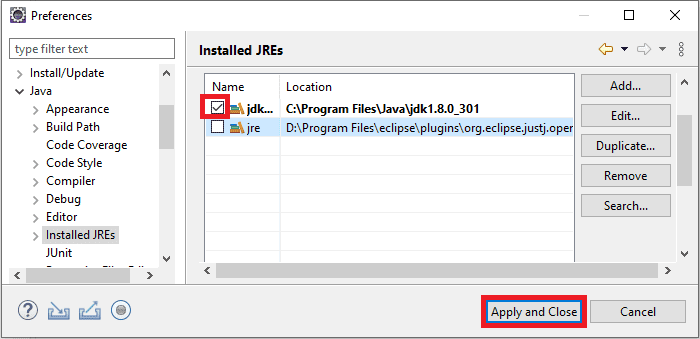
To finish, mark the checkbox of the JDK as shown in the image below and click Apply and Close.
By completing all the steps, the IDE is ready to receive and create new JavaFX projects.